Hello folks,
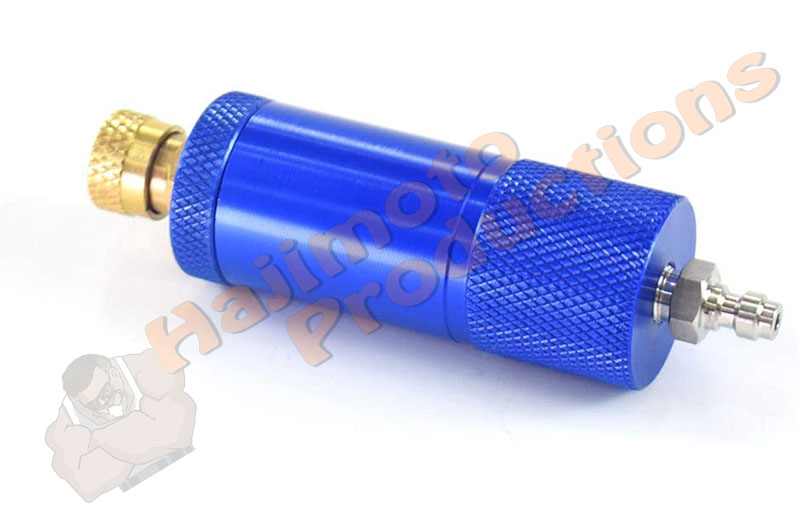
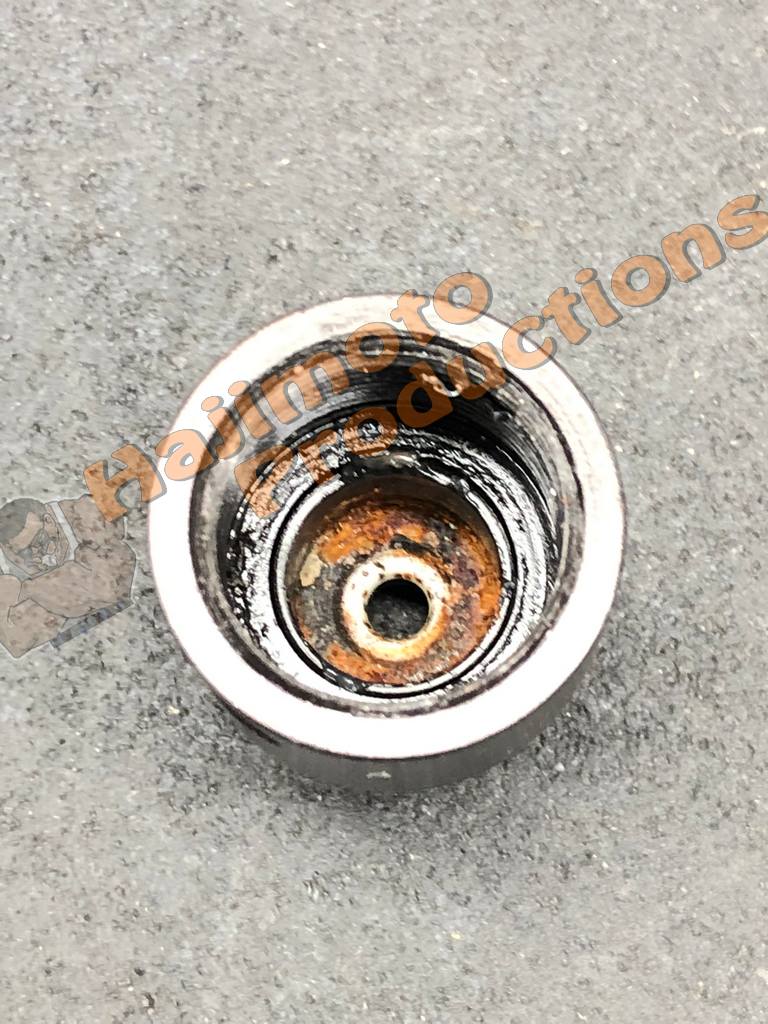
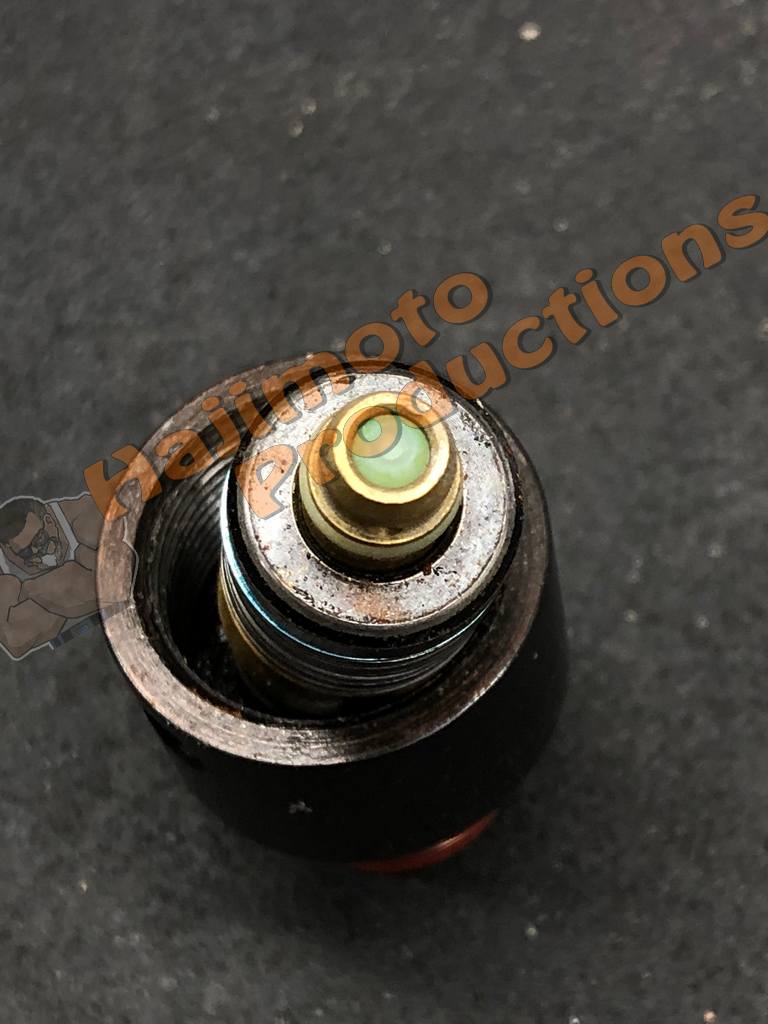
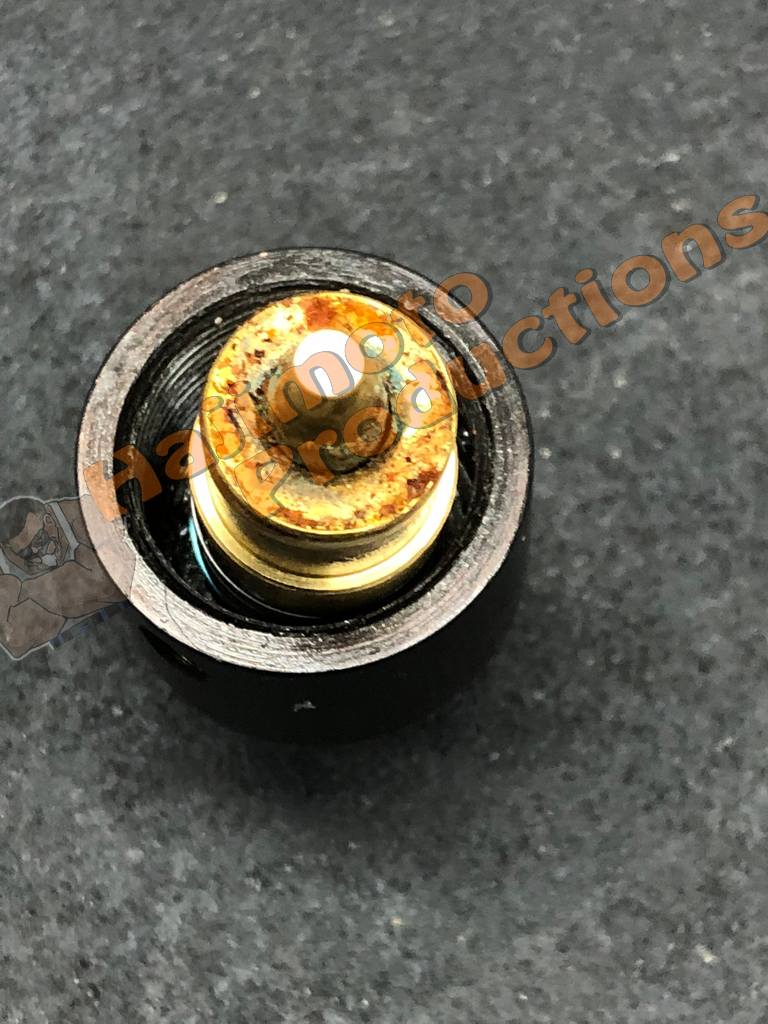
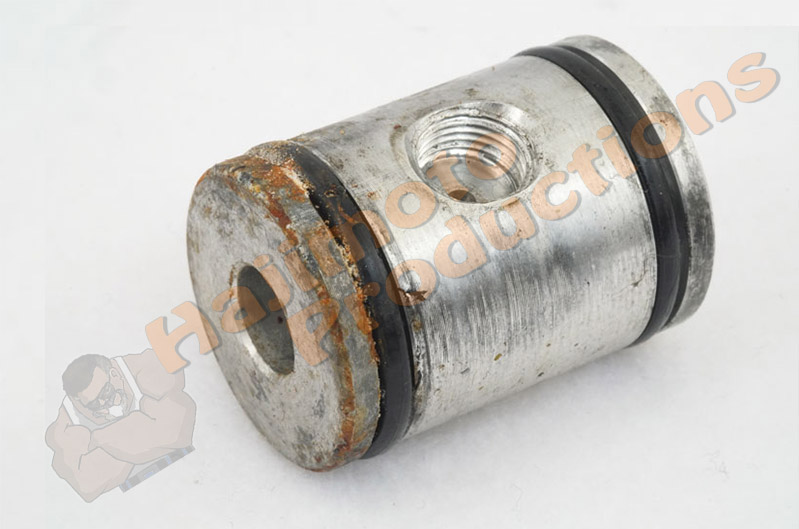
This is the latest information regarding the Hajimoto Side Lever production saga. As I explained in my previous articles on this topic, the machinist manufactured one of the components out of spec which made the entire assembly unusable. So we had to wait for the one component to be remade and then refinished so we could complete the assembly and build the parts.
This couldn’t have happened at the worst time of the year it was the perfect storm for delays. The country is dealing with supply chain issues and raw material shortages and it is the busiest time of the year because of the holidays that happen at the end of the year.
Understandably the anodizing outfit (which is a separate firm) had a full production schedule without a single day of room to try and squeeze this rework in. Because of this delay, we stopped taking any additional build orders for the builds that offer the Hajimoto Side Lever until we have the parts in hand.
We recently had a conference call with the machine shop and the anodizing company to discuss where we are with the completion of these parts. If the last 3 years have taught us anything it is “if it can happen, it will happen”, so in keeping with this trend the parts are said to be a couple of weeks out from shipping.
That would put the parts in our hands on January 11, 2023. This is what we are shooting for and we will plan accordingly. The rollout will still be what was previously shared.
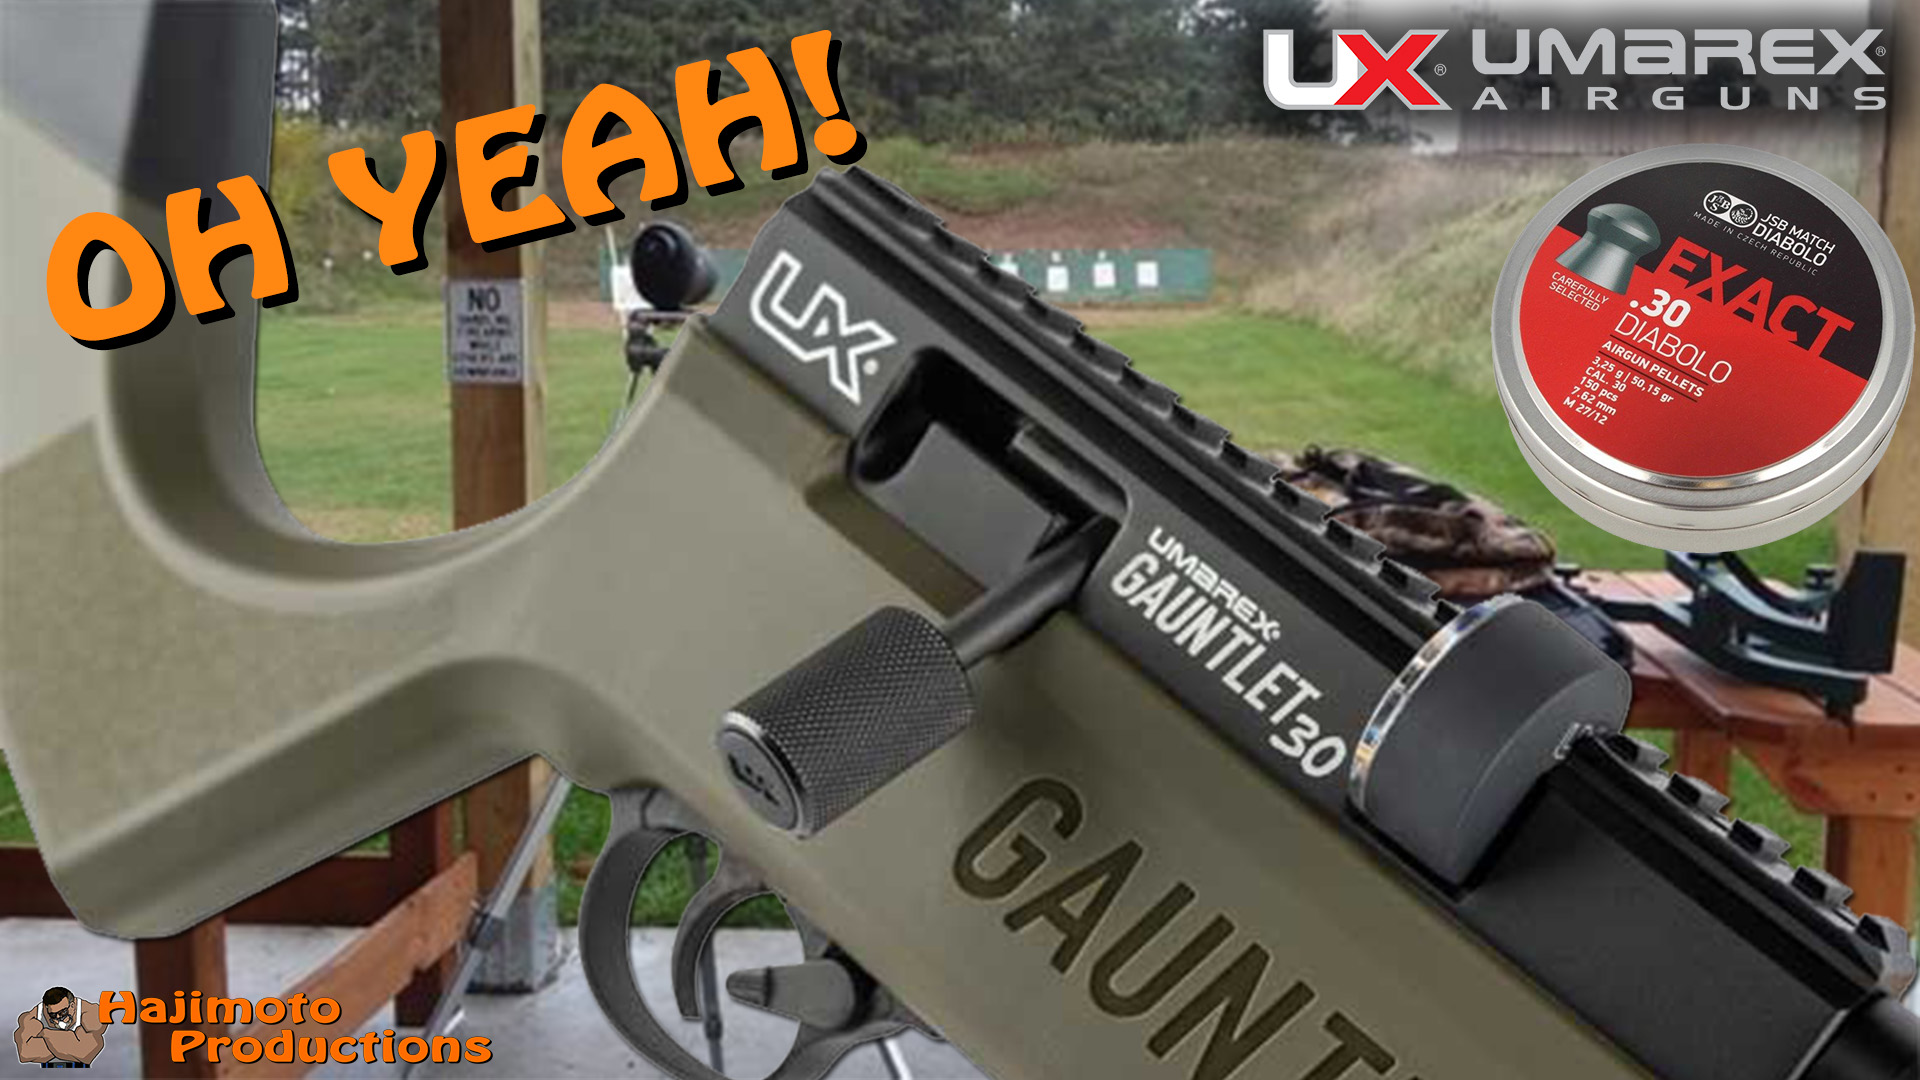
- .30 caliber builds will be first, then levers offered separately.
- Generation 1 .177, .22, and .25 builds first then user installable side levers separately.
- Generation 2 .22 and .25 builds first then user installable side levers separately.
As a reminder, we will be producing and sharing a detailed installation video of the Hajimoto Side Lever System on all variants of Gauntlet so you will have a step-by-step easy-to-follow video if you want to install it yourself. We just recommend that you own a strong quality 2.5mm allen wrench that is at least 4” in length and preferably has a T handle for torque. Please do not skimp here, you need a professional-grade tool else you run the risk of stripping the hex-headed retention screw in the cocking bolt.
The reason for the phasing of release is so we have a manageable rollout and it allows us to produce video instruction on the actual parts that you will be receiving rather than try to edit in any changes after the fact. You guys know how it works, nothing dies on the internet.
To all of you that are patient (or not so patiently) waiting, we appreciate you. So in closing, while things like this manufacturing/production delay cause us angst and frustration, this time of year reminds us that those around us matter more than the things around us.
The new year is upon us and I would like each of you to take a deep breath in and exhale all the difficult 2022 air, angst, frustration, and disappointment so we can focus on what is to come and be grateful we are here to anticipate what it has to offer.
We wish you all happy holidays and a Happy New Year.
Hajimoto